Hello world
This tutorial goes through how to create a Custom view which displays “Hello World” in Omniscope.
Step 1: Start Omniscope and create new file
Start Omniscope and create new file, or open an existing demo and go to Data Explorer by clicking on the highlighted button.

Step 2: Creating a new view
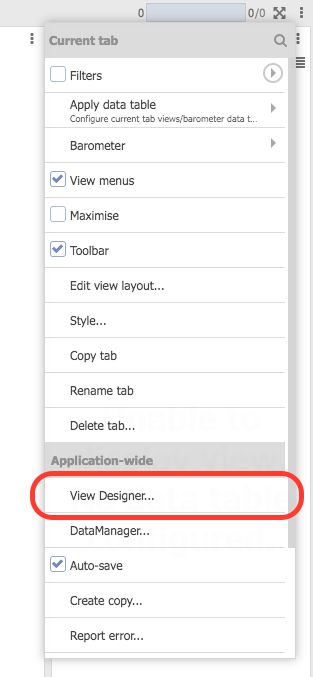
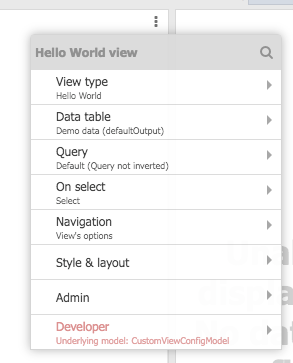
To create your view click settings button (three dots on the top right hand corner) and click “View designer…” The View designer is the user interface that allows you to create and manage your views.
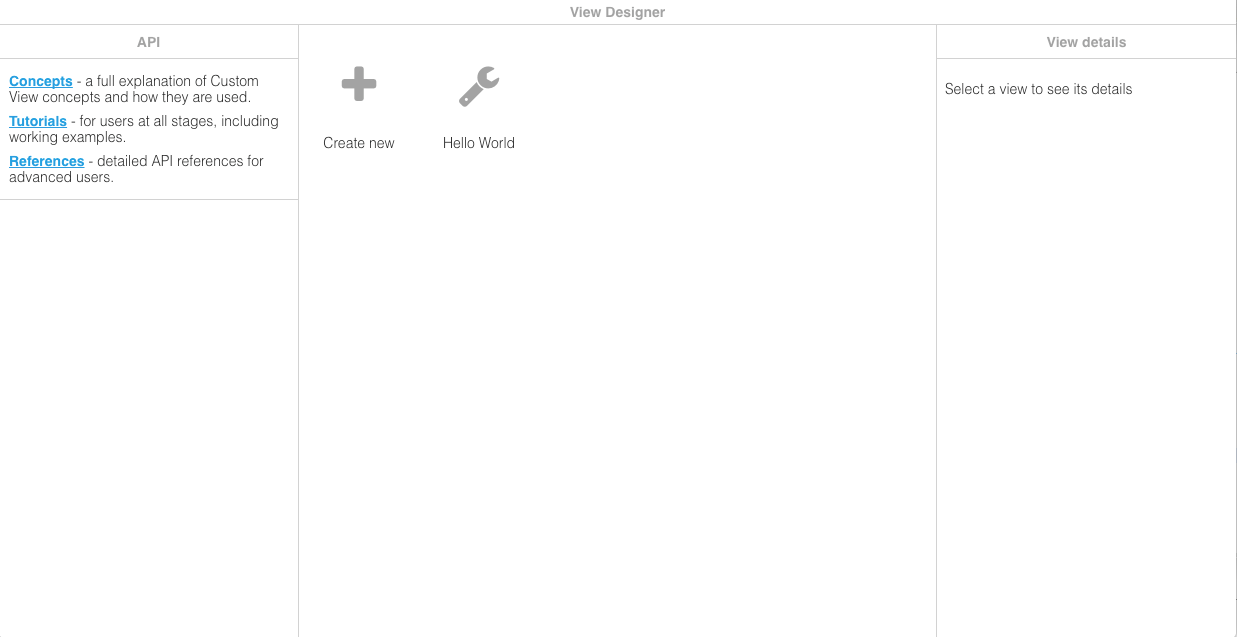
This will open the View designer in an external browser. Click “Create new” and name it “Hello World”.
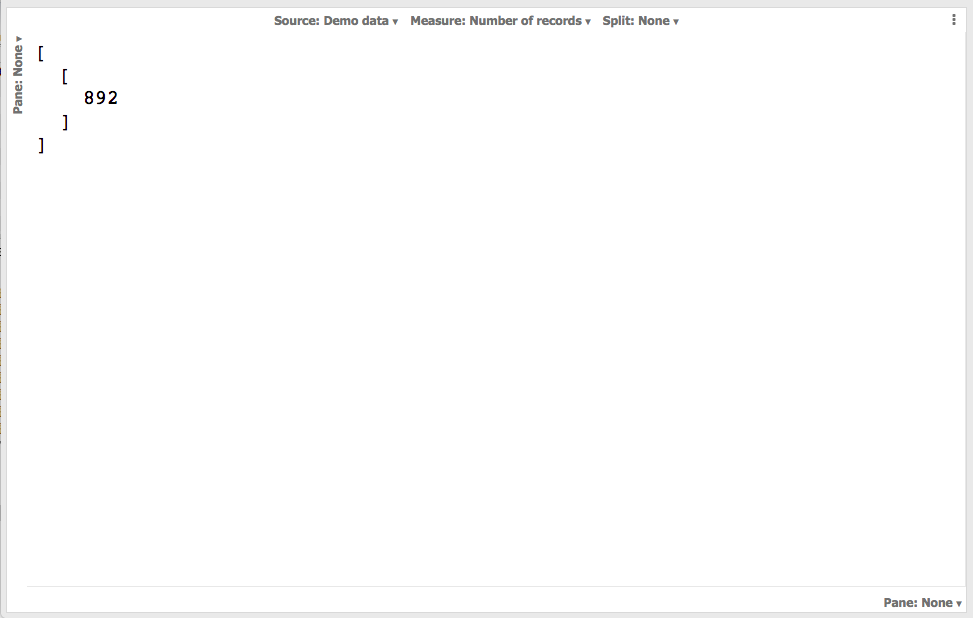
When the view has been added you should see your newly created view showing the current number of records. This is because the default index.html which is created for you, shows the auto-query results in JSON format.
Note: If you change your split/measures and even change the Pane X and Y, then you should see your view updating to see view automatically update to show your the results.
We recommend you have the following workspace layout when developing your custom views. In one browser/tab depending on your preference, have the View designer in one browser/tab and View in another showing developer tools.
Once your view is open in the browser, have the developer tools continuously showing so that you can debug as you edit your index.html/manifest.json. You may need to refresh your browser page when you show developer tools to start debugging.
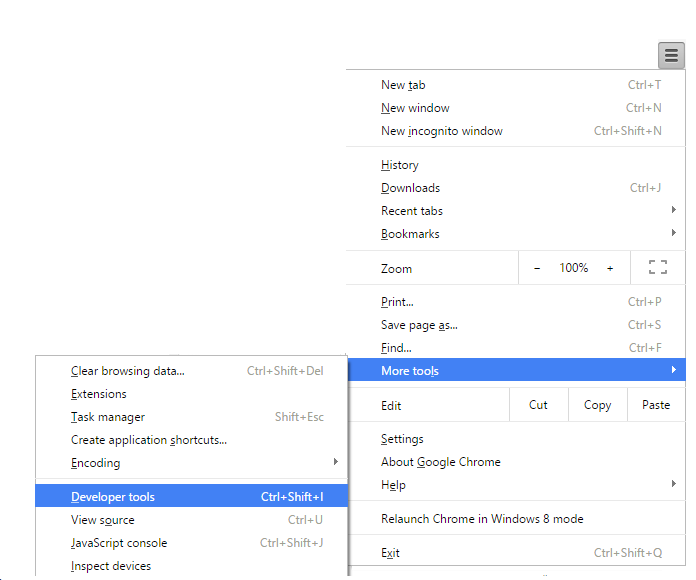
In Chrome you can access Developer tools using through the three horizontal lines icon on top right hand corner:
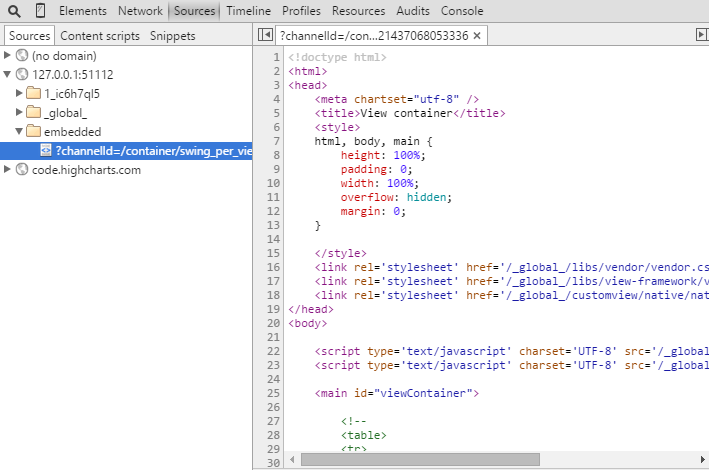
When you have the developer tools opened have the console tab active. You can debug your index.html from the Sources section of the developer tools.
In Chrome you can do this by clicking Sources and then choosing the index page as the image below illustrates:
Simply click on the line number to add the breakpoint and then refresh the page to start debugging.
Step 3: Edit the default template
The next step is to edit the view itself. In the View designer click your “Hello World” and then click “Edit view” button.
We will change the default behaviour to simply display “Hello world”. To do this, open the index.html file in View designer and simply replace the contents of the red box highlighted in the picture below with simply the following:
document.getElementById("main").innerHTML = '<span style="font-size:50px">Hello World</span>';
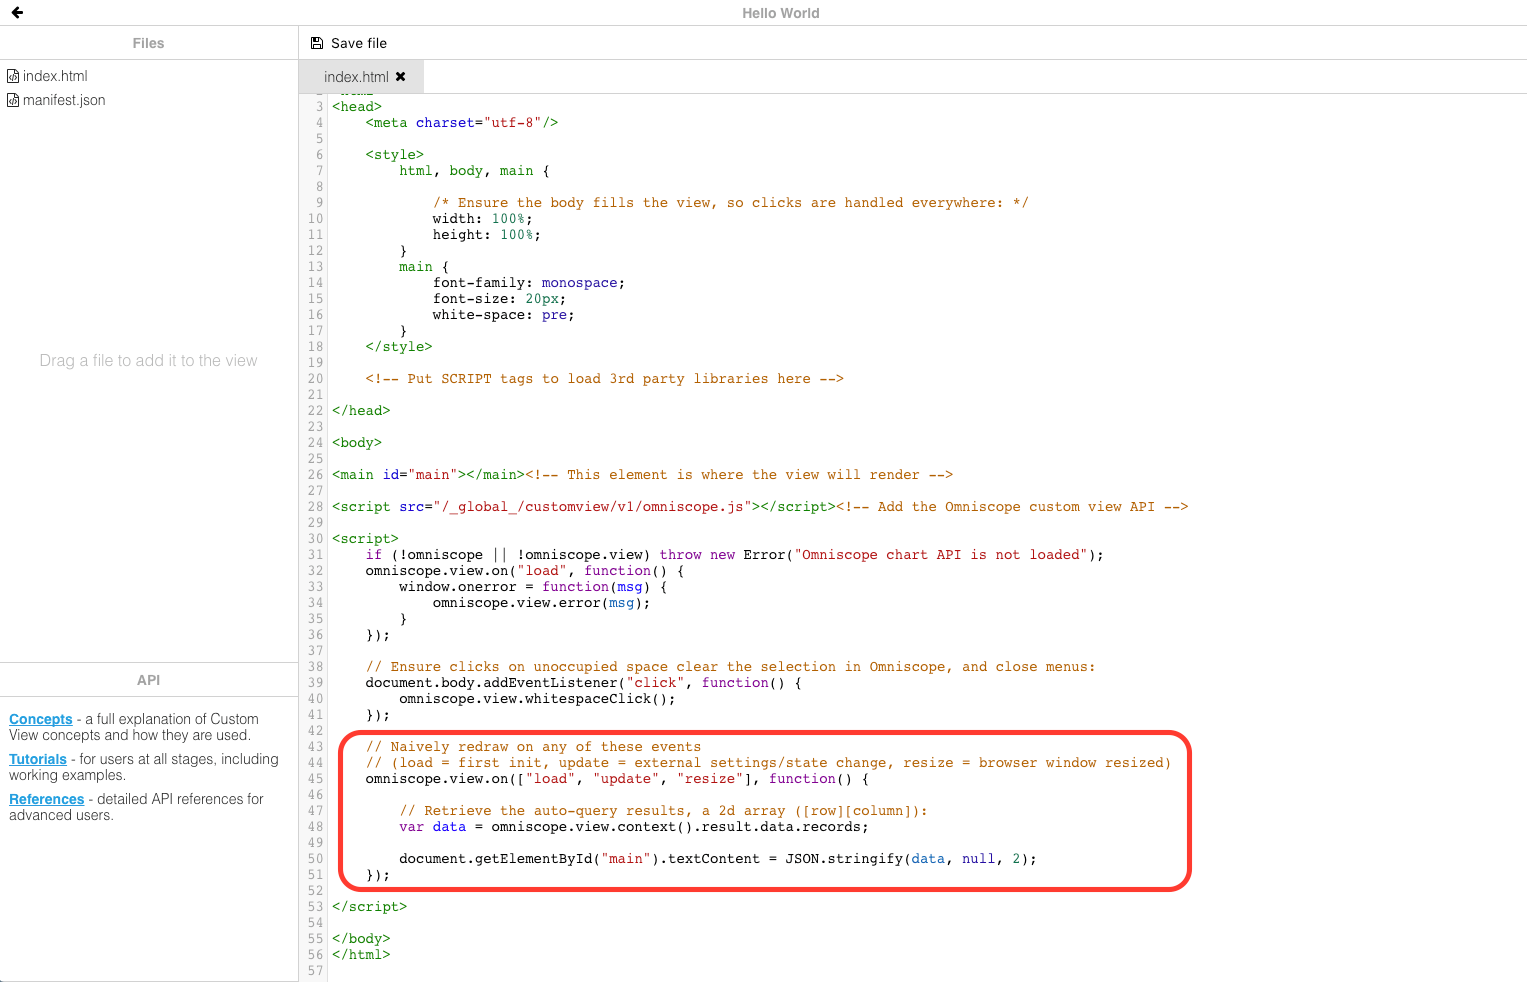
What we have done is retrieve a HTML element whose id is “main” and then set the HTML text of the the element to “Hello World” in size 50px font.
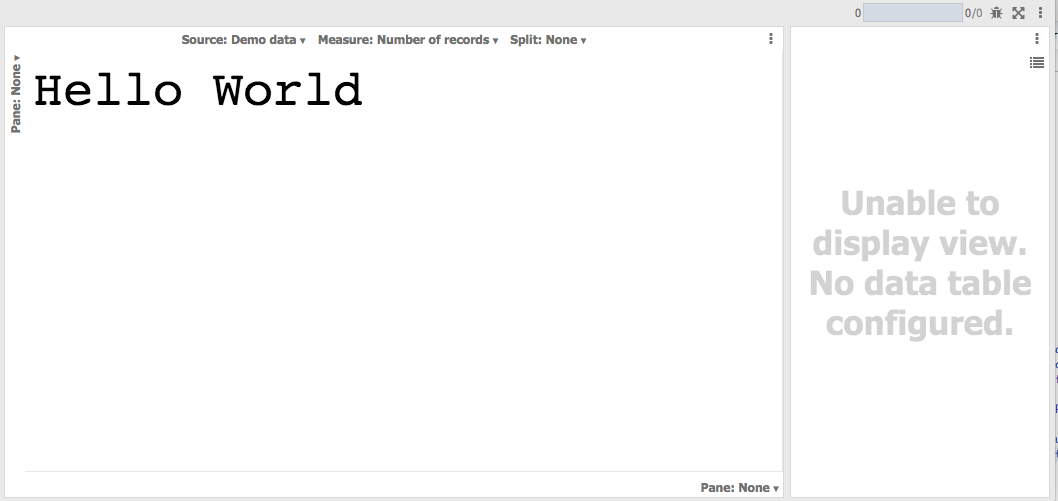
Finally save the index.html file changes, now switch back to Desktop application and you should see the view show “Hello world”.
Since this view does not do much, you may want to remove the “measures”, “split”, “paneX” and “paneY” options from the manifest.json.
Step 4: Viewing the “Hello World” view
If you haven’t already done so, add the “Hello World” view from the view menu as well as a table. In this case we have used the Bond Prices data set from the Demo Data block. These settings are below.
You should see your View showing “Hello World”.
You can even view your in Mobile interface you do not have to do anything special, and if you were to change your Web sharing settings (Settings > Web sharing) you can even see your View on your tablet.